You are viewing 1 of your 1 free articles
Masterclass: SLAP Lesions Part II
In part one of this 2-part article on SLAP lesions, Chris Mallac discussed the relevant anatomy and biomechanics of the biceps tendon anchor, the mechanisms of SLAP lesion injury, as well as the clinical orthopaedic tests and imaging techniques that may identify a SLAP lesion in an athlete. In part two, Chris looks at the surgical interventions required to manage a SLAP lesion and presents in-depth guidelines on the necessary post-surgical rehabilitation following a SLAP repair.

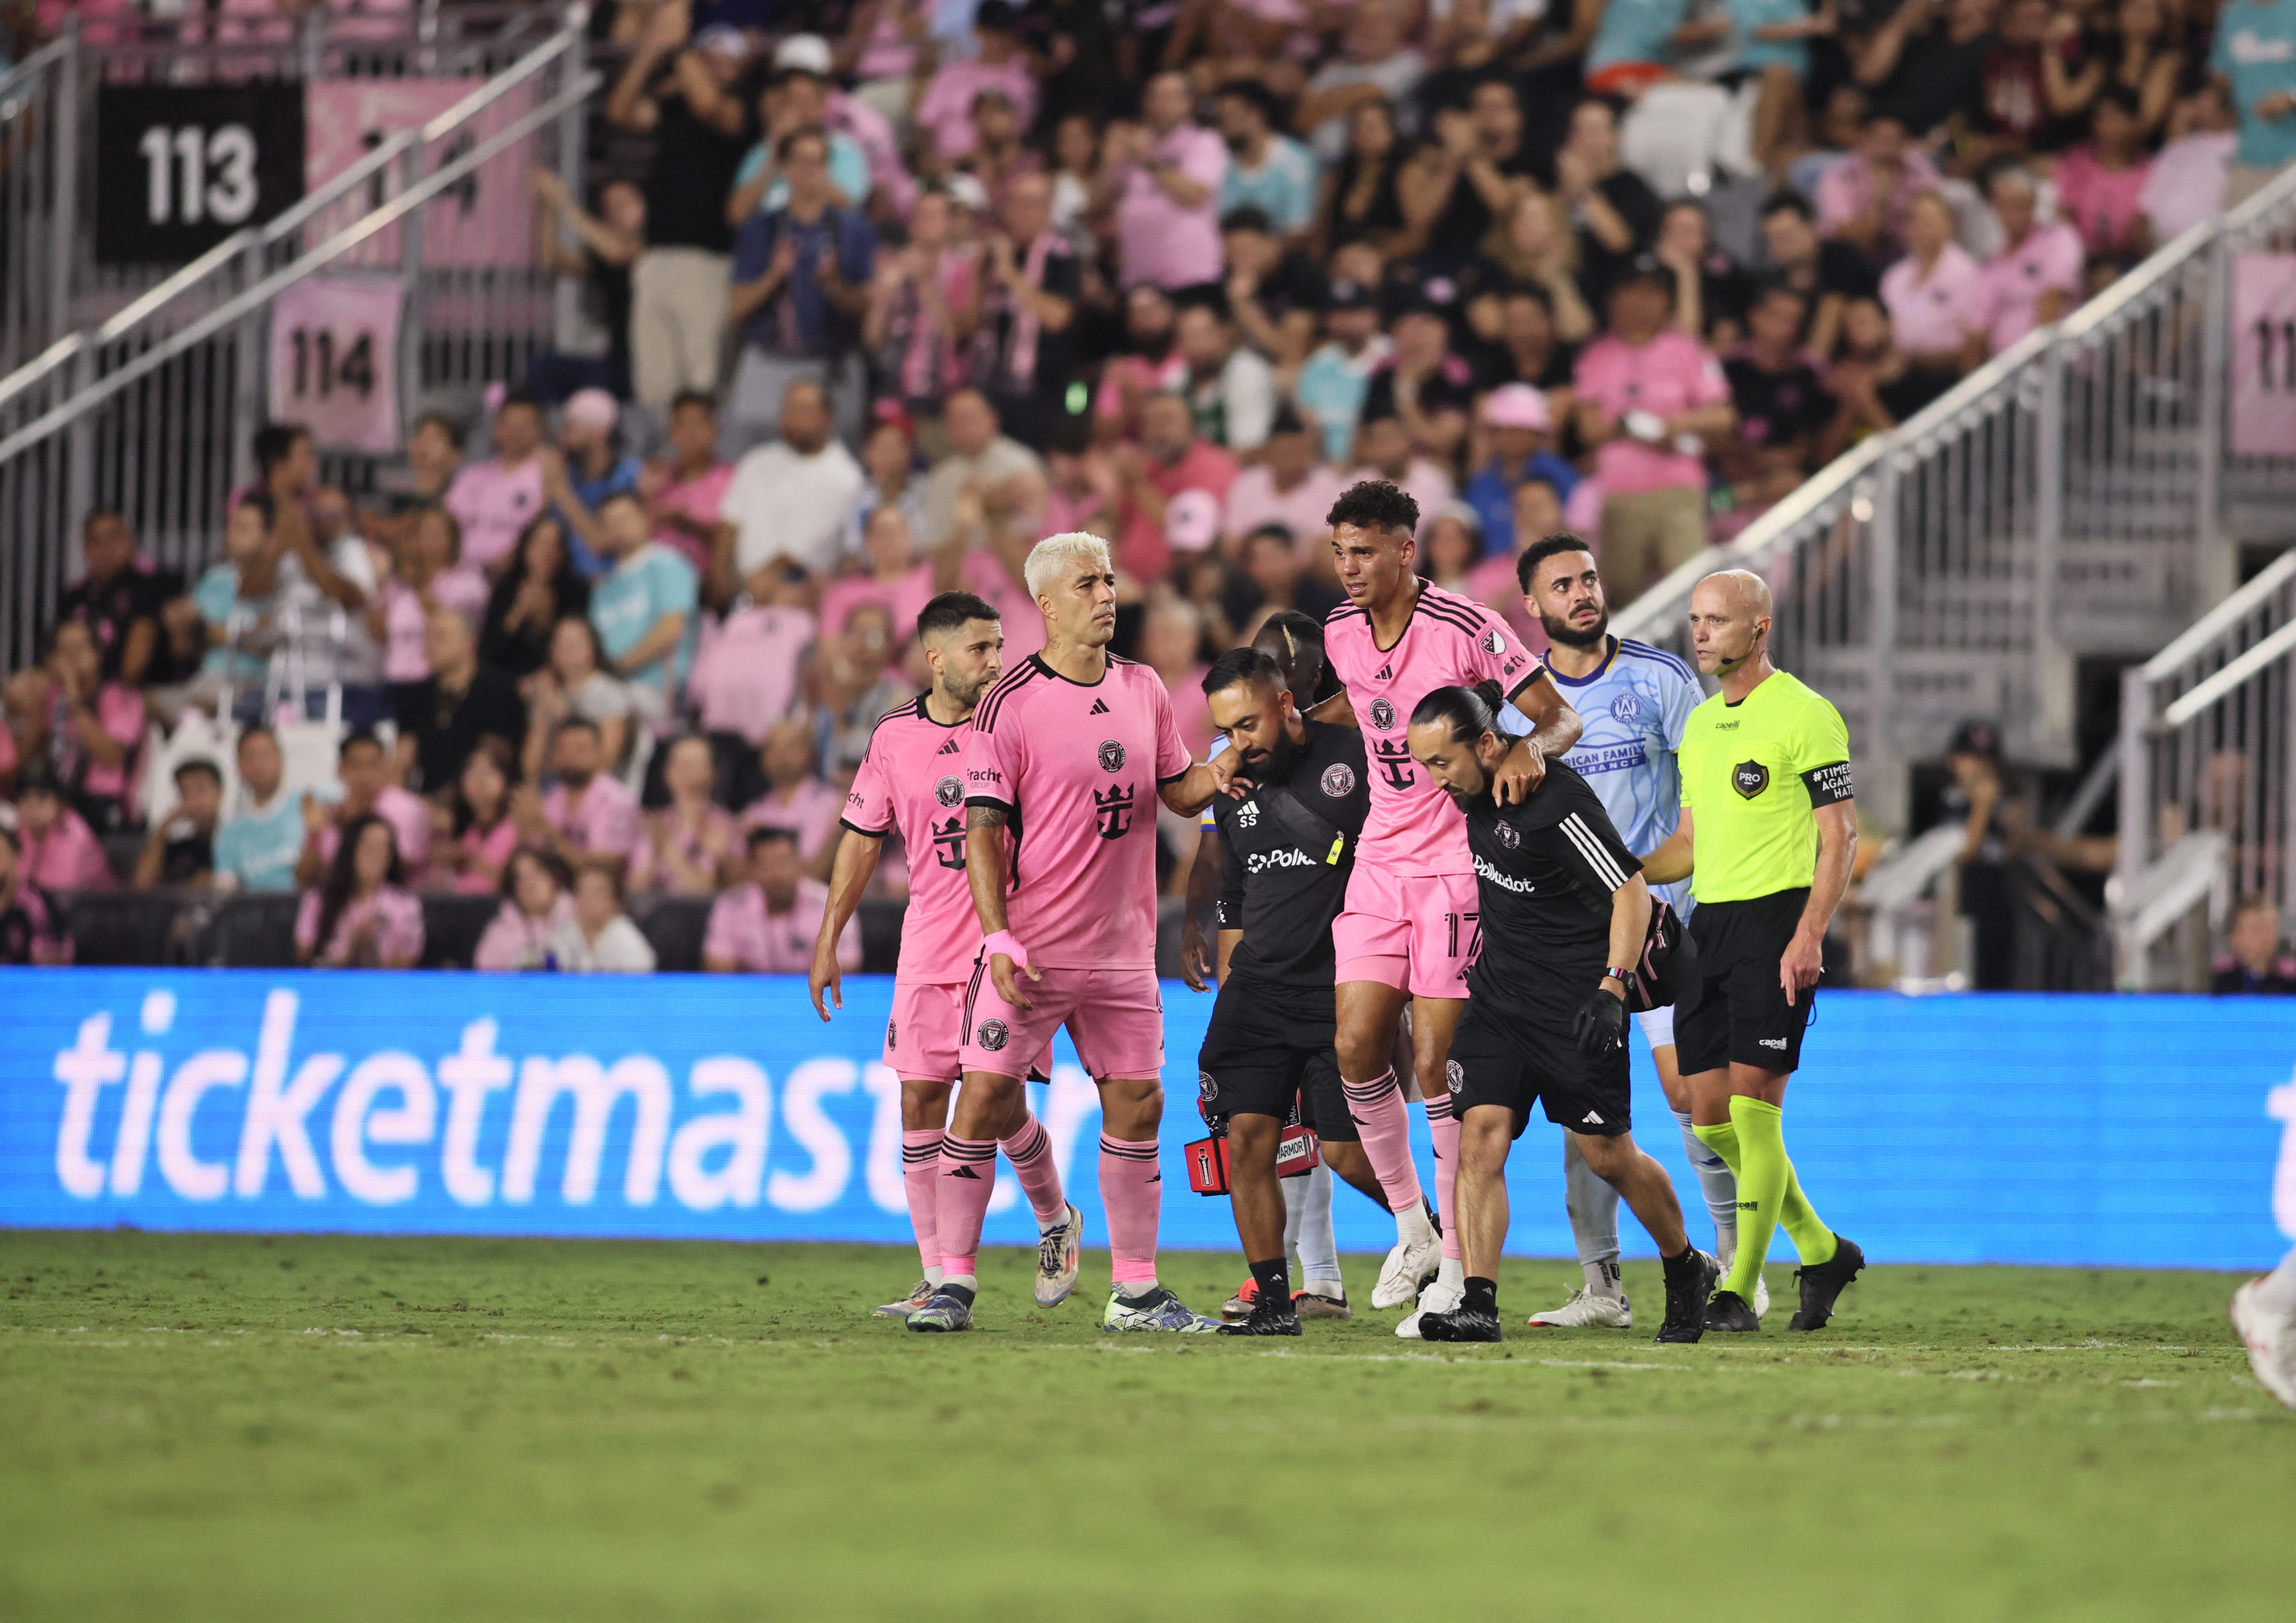
St Helens’Jon Wilkin goes off injured with a shoulder injury, 2014. Credit: Action Images / Carl Recine Livepic
There are a number of varying types of treatment options available in different types of SLAP lesions. The type of lesion, the age of the athlete and the functional level of the athlete will determine the type of treatment plan prescribed for the SLAP lesion. Labrum repair, biceps tenodesis, debridement, tenotomy, and conservative treatment have all been recommended depending on the characteristics of the lesion.
Many variations of SLAP lesions are initially treated conservatively with measures to primarily improve the pathomechanical factors that impinge on the SLAP lesion such as glenohumeral internal rotation deficit (GHIRD) and scapular dyskinesis. For many of the lower-level type 1 lesions, this may be quite effective in eliminating the symptoms of the SLAP lesion without the need for surgery. However for the purposes of this article, the focus will remain on surgically treated SLAP lesions and their rehabilitation.
| Surgical intervention |
|---|
| The goal of surgical intervention is to create a strong repair that allows aggressive rehabilitation of the shoulder and return to full competition as soon as possible. The actual procedure is now usually performed under arthroscopy. The basic SLAP lesion repair is as follows: 1. The glenoid and labrum are roughened to increase the contact surface area and create a blood clot to promote re-growth. 2. Bone-anchor locations are selected based on the size of the labral/ SLAP lesion. 3. The glenoid is drilled for anchor implantation (the anchor options are non-absorbable, absorbable and knotless anchors). 4. The anchors are inserted and the suture component of the anchor is tied through the labrum, in tight contact with the glenoid surface. In a study by Brockmeier et al (2011)J Bone Joint Surg Am. 2009;91:1595-603, it was found that 87% of patients who had arthroscopic repairs following a type II lesion has good to excellent resultsJ Bone Joint Surg Am. 2009;91:1595-603. However, only 74% of the patients could return to pre-injury levels of competition. Full return to throwing and contact sports occurs in 80-90% of athletesClin Sports Med. 2004;23(3):321-334, vii Clin J Sport Med. 2007;17(1):1-4. |
Surgery types
Simple type-1 lesions may only require a simple debridement without disrupting the biceps anchor(1), whereas type-2 lesions are the most commonly seen type in sports medicine clinics, and these involve a detachment of the biceps anchor from the labrum. Type-2 lesions can be treated with arthroscopic fixation of the superior labrum to establish biceps anchor stability.
Type 3 lesions are characterised by bucket-handle tears of superior labrum with intact biceps anchor. This bucket handle fragment can easily be debrided by an arthroscopic shaver, and repair is often not needed(2). However, if the type 3 lesion is associated with a Buford complex then it should be treated as a type 2 lesion(3). The other types of SLAP lesions are not as common as the type 2 lesions, although if they do exist will certainly need surgical intervention.
In a large database search of over 25,000 arthroscopic SLAP repairs, Zhang et al (2012) found that the highest incidence of repair is in the 20-29 years and 40-49 years of age groups(4). This may reflect how the younger population are more likely to be involved in sports and other activities where they may suffer an acute SLAP lesion. In the 40-49 year old group however, the high incidence is most likely down to the degeneration of the labrum, which may be initially make its presence felt around this age. Also there is a significant gender difference, with men having three times higher incidence of repair. This probably reflects how males are more likely to play a sport, or behave in a way that may lead to a SLAP lesion.
Rehabilitation
A number of guidelines have been proposed when managing post-operative SLAP lesions based on the original mechanism of injury(8). These include:
- In injuries sustained due to a compressive mechanism, subjects need to avoid weight bearing exercises on the limb in the early stages to avoid the compression and shear effect on the labrum.
- In injuries sustained due to a sudden traction, subjects need to avoid any heavy eccentric biceps load to minimise the traction effect on the biceps anchor.
- In injuries sustained due to a ‘peelback’ mechanism, subjects need to avoid excessive shoulder external rotation in the early post-surgical period.
With these guidelines in mind, the general rehabilitation plan is staged over six phases. Although time frames have been approximated for each stage, the key decision to move from one stage to the next is the achievement of the exit criteria listed at the end of each stage. In general terms, throwing and contact sport athletes will usually return to competition at 6-9 months post-surgery, depending on the athlete and the sport.
| Stage-1 rehabilitation (weeks 1-3) | |
|---|---|
| Goals | -Protect the shoulder to allow full tissue healing -Start gentle isometric scapular and rotator cuff strength |
| Treatment | -Usually starts at 5-7 days post-surgery In elite athletes, daily treatment. -In regular recreational athletes 1-2 times per week. |
| Precautions | -Sling immobilisation -No biceps contraction allowed (no elbow flexion or supination movements) -Test skin over deltoid for any axillary nerve hypersensitivity -Limit external rotation to 40 degrees with arm by side -No abduction allowed -No extension past body allowed -No forward flexion past 90 degrees |
| Range of motion | -Active elbow extension movements, passive elbow flexion (no biceps contraction) -Passive flexion, external rotation and internal rotation within above limits |
| Strength | -No direct shoulder exercises during first 3 weeks -Scapular setting into retraction and depression for lower trapezius activation. |
| CV fitness | -Walking and bike with sling on |
| Exit criteria | -Pain-free in protected shoulder sling -No axillary nerve lesions present -Post-surgical review at 3 weeks to progress |
| Stage-2 rehabilitation (weeks 4-6) | |
|---|---|
| Goals | -Continued protection of surgically repaired tissue -Continue and progress scapular stability -Commence light shoulder muscle and rotator cuff activation |
| Treatment | -In elite athletes, daily treatment. -In sub-elite/recreational athletes twice per week |
| Precautions | -Continued sling immobilisation (some surgeons may allow this to be removed at 4 weeks post op) -No biceps contraction allowed (no elbow flexion or supination movements) -No abduction past 45 degrees allowed -No extension past body allowed -No forward flexion past 90 degrees |
| Range of motion | -Soft tissue massage to pectoralis minor/major, infraspinatus, upper trapezius, levator scapulae and bicep/triceps. Maintain arm in positions of comfort and safety -Passive and active assisted flexion, abduction, external rotation and internal rotation to above limits. External rotation can now be pushed to 60 degrees in neutral |
| Strength | -Begin isometric internal/external rotation, adduction/abduction and flexion/extension, all within a neutral arm position -Continue with isometric scapula-setting exercises |
| CV fitness | -Walking and bike with sling on |
| Exit criteria | -Pain-free shoulder in sling-protected position -Surgical review at week 6 post op to remove sling and commence rehabilitation |
| Stage-3 rehabilitation (weeks 7-12) | |
|---|---|
| Goals | -Regain active range of movement of flexion/abduction/external rotation to 90% other side -Commence rotator cuff strength -Progress scapular exercises into more functional positions |
| Treatment | -In elite athletes, daily physiotherapy -In sub-elite, once per week to progress rehabilitation exercises -Purpose of therapy is to continue soft-tissue work on rotator cuff tightness, and pectoralis major/ minor, latissimus dorsi and upper trapezius/levator scapulae muscle tone |
| Precautions | -Gradually start to load biceps. Starting with isometric initially and then progressing full-range elbow flexion with light resistance on both concentric and eccentric phases -Biceps loading may still be avoided if the surgery also included a repair of a bicep tear or a bicep tenodesis (usually with the Type IV SLAP lesion) -Avoid passive abduction and external rotation (stop sign position) and horizontal extension movements. These place the tensile strain on the long head of bicep anchor |
| Range of motion | -Start active shoulder flexion in side-lying positions to limit biceps load for weeks 7, 8 and 9. In weeks 10,11 and 12, active flexion in standing is allowed -Start abduction in supine to limit biceps load for weeks 7,8 and 9. Active abduction in standing allowed weeks 10,11 and 12 -Avoid hand behind back position in this stage |
| Strength | -Progress scapula exercises (particularly prone-retraction movements and supine protraction) with arms at 90 degrees flexion (see diagram for a description). --Start Theraband internal and external rotation. Avoid any supination movement with external rotation of the shoulder (to limit biceps activation). -May start ˜throwers ten program at this stage if athlete is a pitcher. Refer to the program as described by Wilk et al (2011) as not all exercises will be appropriate at this stage(10). -Gentle controlled biceps contractions with theraband (not dumbbell) in shoulder flexion (preacher position) and in neutral. Avoid any shoulder extension positions. This may be prohibited in some Type IV SLAP lesions involving biceps repair/tenodesis -Leg training without any shoulder load. No back squats (but safety bar squats fine). Leg press fine. No deadlifts due to traction effect. Lunges with a vest not dumbbell holding |
| CV fitness | -Walking and bike “ no arm movements |
| Exit criteria | -Attain full active and un-resisted shoulder flexion, abduction and external rotation. Do not attempt to measure hand behind back positions -Symmetrical isometric rotator cuff resisted muscle tests in neutral position between left and right side -Three month review with surgeon and all clear to commence strength work |
1. Prone-retraction drill for lower trapezius


Lie face down with the arms positioned vertically. Slowly retract and depress the scapula. Hold for 5 seconds and return. This is a progression on the seated retraction drills as now gravity places extra force on the scapula. Watch carefully for any over activity in upper trapezius, rhomboids and latissimus dorsi.
2. Supine protraction drill for serratus anterior

Lie supine with the arms positioned in 90 degrees flexion holding a length of flexible tubing with the hands. Actively lift the hands towards the ceiling (only need to move 1-2 cm) by actively protracting. As your client does this, the bar will gently bend outwards (this is created by shoulder external rotation). Perform sets of 10 repetitions. To progress, wrap some tubing around the trunk and hold onto it also. This adds resistance to the protraction.
| Stage-4 rehabilitation (weeks 12-16) | |
|---|---|
| Goals | -Regain all active range of movement with normal scapulo-humeral movement -Regain rotator cuff strength in 90-degree abduction planes -Commence gentle gym-based exercises |
| Treatment | -Elite athletes continue daily hands on treatment if needed. Focus is now on posterior capsule tightness and GHIRD improvements, posterior capsule stretches, humeral head glides -Sub-elite/recreational athletes will present once per week for review and progressions |
| Precautions | -All movements are low load and low velocity -No swimming or throwing movements |
| Range of motion | -Start to push and regain full active flexion, abduction and rotation movements -Start to mobilise shoulder into full internal rotation hand behind back positions -Commence active posterior cuff stretches such as ˜sleeper stretch and ˜hand behind back stretches (see diagrams) -Start gentle latissimus dorsi stretches and foam roller pectoral stretches (see attached diagram). No excessive pressure on these stretches. |
| Strength | Rotator cuff -Progress rotator cuff strength work in positions of flexion and abduction. If external rotation strength has normalised compared to other side, then use external rotation sparingly as this may further tighten the posterior cuff and limit internal rotation Progress ˜throwers ten program(10) Scapular strength -Start push ups plus variations: week 12 standing against wall, week 13 against wall with forward body lean, week 14 on knees on floor, and week 15 full push-up position -Start serratus anterior slide drills within limits of shoulder pain (see description below) -Closed kinetic chain hands on wall in both scapular retraction position and scapular protraction position. Theraband around the clock drill (see description). Gym strength -Week 12 “ Start light horizontal pulling movements such as wide row, prone fly, seated row. Also start controlled triceps extension work such as lying extension, small end range close grip bench, diamond push ups. No dips -Week 13 “ Start light horizontal push movements such as floor dumbbell press. Start light dumbbell bicep curls in variety of shoulder flexion/extension positions (this will be delayed in Type IV repairs with biceps repair/ tenodesis). Progress horizontal pulling from week 12 -Week 14 “ Start light vertical pulling such as front pulldowns, close grip pulldowns. Avoid chin ups at this stage. Progress horizontal pull/push strength.-Week 15 “ Start vertical push movements such as front and side raises and dumbbell hammer press drills. Progress other planes of movement |
| CV fitness | -Start low level running mechanics drills using low-speed sprint drills to avoid aggressive arm action. However, speed can be built over the four weeks -Start aerobic interval running (if in a running sport). Intensity can be increased each week -No limits on cycling and rowing ergometer training -No swimming or boxing in this stage |
| Exit criteria | -CKC drill “ 18-20 touch average in 15 seconds (tested at week 16)(11). This is described in detail below -Full range of movement in flexion, abduction and extension -Hand behind back within 90% other side -Pain-free palpation of long head of biceps tendon |
1. Sleeper stretch

2. Hand behind back stretch

3. Pec stretch on roller

4. Serratus anterior slide drill


Place a foam roller on the wall and pin the roller with the wrists. Protract the scapula and hold the protraction. Roll the roller up the wall using the forearms and simultaneously rotate the arms into external rotation. Hold at the top for 2-3 seconds then return.
Around the clock drill


Place some Theratubing around the wrist. Place the hands on the wall in front of the chest. Protract the scapula and then move and touch the right hand into the 1-3-5 o’clock positions. Then place the left hand into the 11-9-7 o’clock positions. Now retract the scapula and repeat the sequence.
6. Closed kinetic chain (CKC) test

Place two pieces of tape 36 inches apart on the floor. In a push up position (knees for women), place a hand on each piece of tape. As fast as possible lift one hand and place it on the other, then return the hand to the tape and repeat with the other hand. This is two touches. Repeat this as fast as possible and count hand touches in 15 seconds. Rest 45 seconds and repeat. Now perform a third set. Average out the three efforts for the final score.
| Stage-5 rehabilitation (weeks 16-22) | |
|---|---|
| Goals | -Regain full shoulder strength in all planes of movement -Return to light skill acquisition. Easy throwing build up in throwing/pitching sports, light game-specific non-contact skills in a field/contact sport |
| Treatment | -As needed for release of myofascial release of shoulder/scapular muscles, myofascial sling mobility, and thoracic/rib cage mobility in throwing sports |
| Precautions | -Slowly progress speed and load into tendon loading positions. For example, deep bench press, snatches, overhead press movements and biceps traction-type loading in deadlifts and cleans |
| Range of motion | -Unrestricted range of movement-Interventions to improve any limitations in a movement direction such as hand behind back or shoulder internal rotation can be aggressively pursued in this stage. Manual therapy, trigger-point dry needling, joint mobilisation and strong stretching can all be used to regain those last remaining degrees of movement |
| Strength | General strength and conditioning -All planes of movement should now be incorporated. Avoid any behind the neck positions (pulls and presses), and dips. Chin ups can now be started and progressed -Commence and carefully progress high bicep-loading movements such as deadlifts, power cleans, snatches and overhead presses -Commence functional planes of movement training such as PNF D1 and D2 patterns on cables, functional suspension training, rotational strength training incorporating shoulder function, and specific to the sporting requirements-If performing ˜throwers ten program, this will be unrestricted High level scapular function -In this 4-week block, the athlete needs guidance on a variety of high-level scapular motor control exercises, incorporating full scapular upward rotation and protraction with posterior tilt. This will ensure a stable and functional scapula platform from which the biceps anchor can work from. For example, foam roller wall sliders, and integrated scapular/rotator cuff exercises (below). |
| CV fitness | -Unrestricted running and sprinting, with change of directions-Non-contact skill acquisition for the team/contact sport athlete and light return to pitching for the throwing athlete -Can start gentle swimming and boxing drills at this stage |
| Exit criteria | -CKC drill 25+ touches in 15 seconds -Pushing strength back to 90% pre-injury levels. For example, barbell or dumbbell bench press -If available, isokinetic strength testing for shoulder internal and external rotation -Should be above 90+% No apprehension in high velocity throwing actions |
Integrated scapular/rotator cuff exercises


A) Attach theratubing to a post at shoulder height. Wrap the tube around the upper arm, loop it back around the post and then hold it in the hands. The tubing is creating a horizontal shoulder flexion movement and protraction movement so the athlete needs to retract against this force. The tubing in the hand is attempting to pull into shoulder internal rotation so the external rotators are needed to create the opposite force.
B) Place a square of foam or Duradisc on the wall at about shoulder height. Place the elbow against the wall and rotate the body around so that the arm and scapula are in line (scaption plane). Hold a piece of Theratubing in the hand so that it creates an external rotation force. Actively protract and upwardly rotate the scapula (cue here is to push the elbow into the foam/disc by popping the armpit forward). Hold the scapula and now rotate the arm internally.
| Stage-6 rehabilitation (week 22 onwards) | |
|---|---|
| Goals | -Return to competition with confidence and no apprehension -Continue to progress sports-specific strength in gym-based movements and sport-specific functional strengthening movements -Confidence in either high-end throwing or full contact of the shoulder in a collision/martial arts sport -Improve sports-specific work capacity |
| Treatment | -As needed for maintenance of myofascial, neural and articular restrictions |
| Precautions | -Gradual and cautious progressions into sport specific movements |
| Range of motion | -Full and unrestricted |
| Strength | -Should be working to full strength in all lifting patterns -Still avoid positions of full external rotation in abduction such as behind neck movements and high-tensile loads on biceps anchor such as dips. If deadlifting is required then use affected arm in a pronated position |
| CV fitness | -Unrestricted |
| Exit criteria | -No pain or apprehension with sport-specific movements such as throwing or contact on the shoulder-Coaching staff and athletic performance staff are confident that all skill acquisition has been attained |
Summary
SLAP lesions are a reasonably common injury in the throwing athlete and can also be a source of shoulder pain in the contact athlete. Type II SLAP lesions are more common and will usually require surgical intervention. The rehabilitation program following this type of injury may be quite lengthy and detailed and most athletes will return to sport at six to nine months following surgery.
Further reading
Newsletter Sign Up
Subscriber Testimonials
Newsletter Sign Up
Coaches Testimonials
Be at the leading edge of sports injury management
Our international team of qualified experts (see above) spend hours poring over scores of technical journals and medical papers that even the most interested professionals don't have time to read.
For 17 years, we've helped hard-working physiotherapists and sports professionals like you, overwhelmed by the vast amount of new research, bring science to their treatment. Sports Injury Bulletin is the ideal resource for practitioners too busy to cull through all the monthly journals to find meaningful and applicable studies.
*includes 3 coaching manuals
Get Inspired
All the latest techniques and approaches
Sports Injury Bulletin brings together a worldwide panel of experts – including physiotherapists, doctors, researchers and sports scientists. Together we deliver everything you need to help your clients avoid – or recover as quickly as possible from – injuries.
We strip away the scientific jargon and deliver you easy-to-follow training exercises, nutrition tips, psychological strategies and recovery programmes and exercises in plain English.
